


Do you feel like your basement is a little dark and has become one big holding cell for every toy your child has? Don’t worry, you are not alone. Here is an idea that will help to brighten your space.
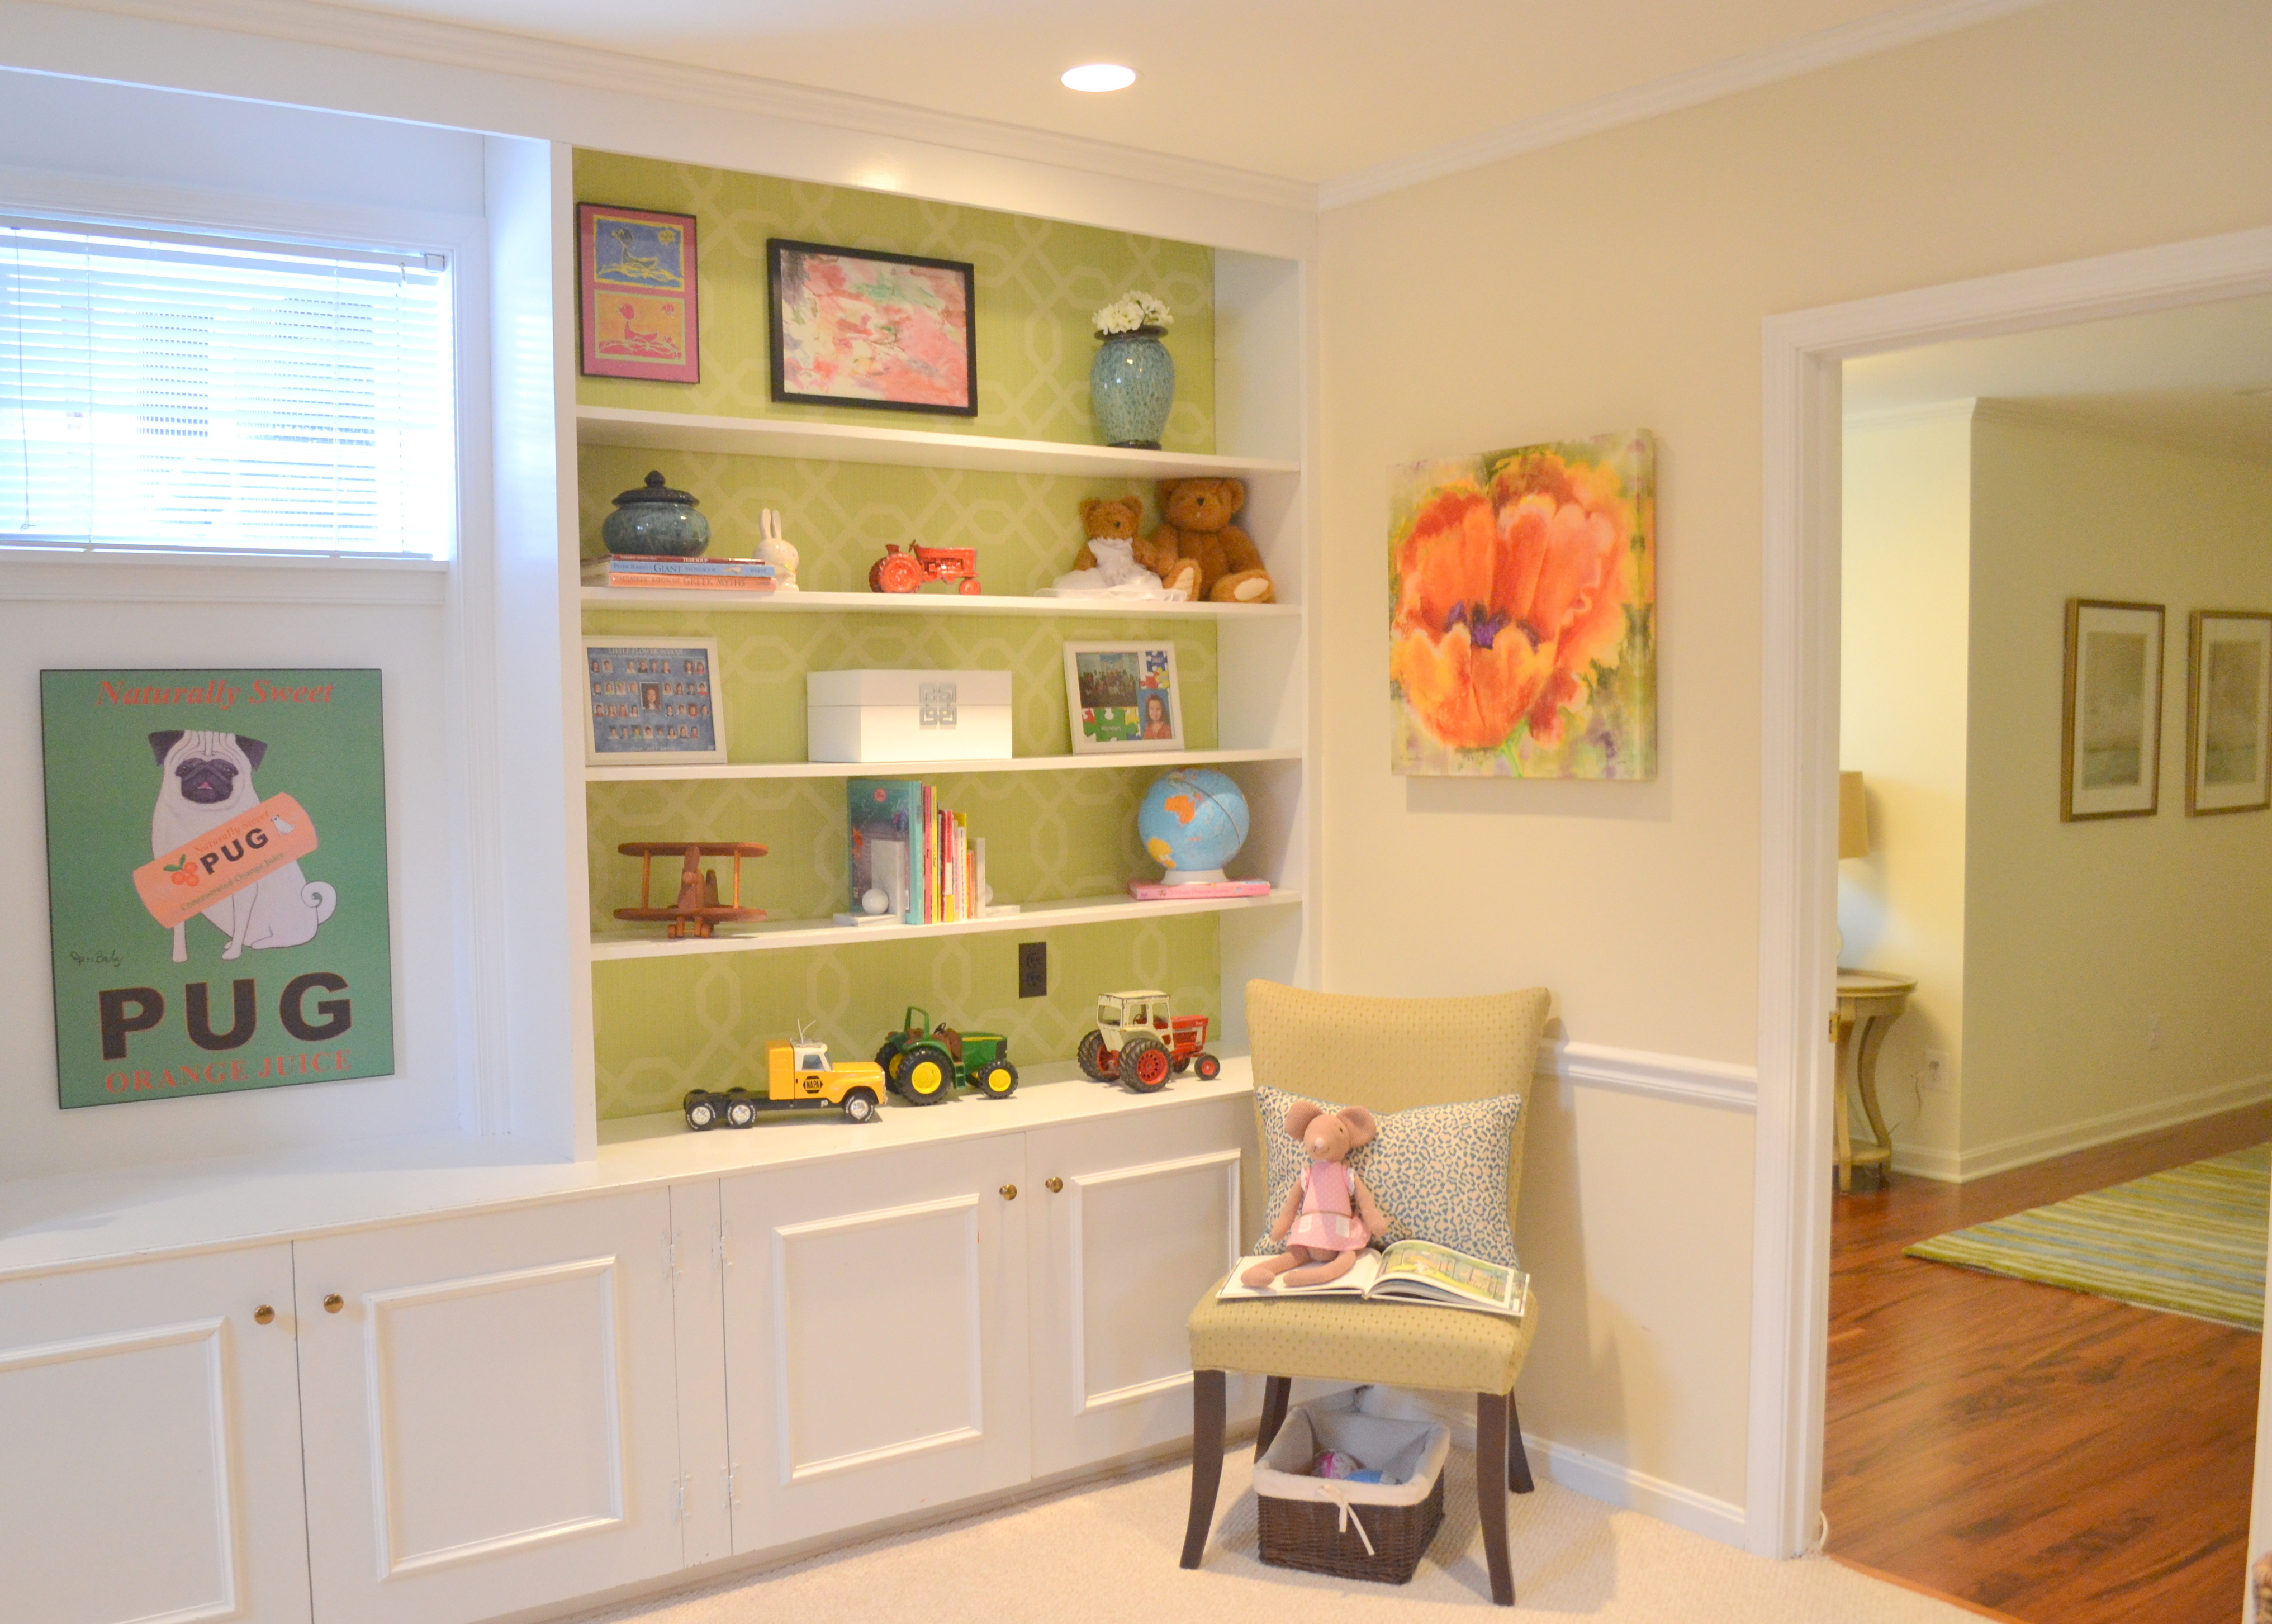
If you are lucky enough to have bookshelves, why not paper the back of the shelf with bold, bright geometric paper. This is an easy, inexpensive project for the “WOW” factor you will receive.
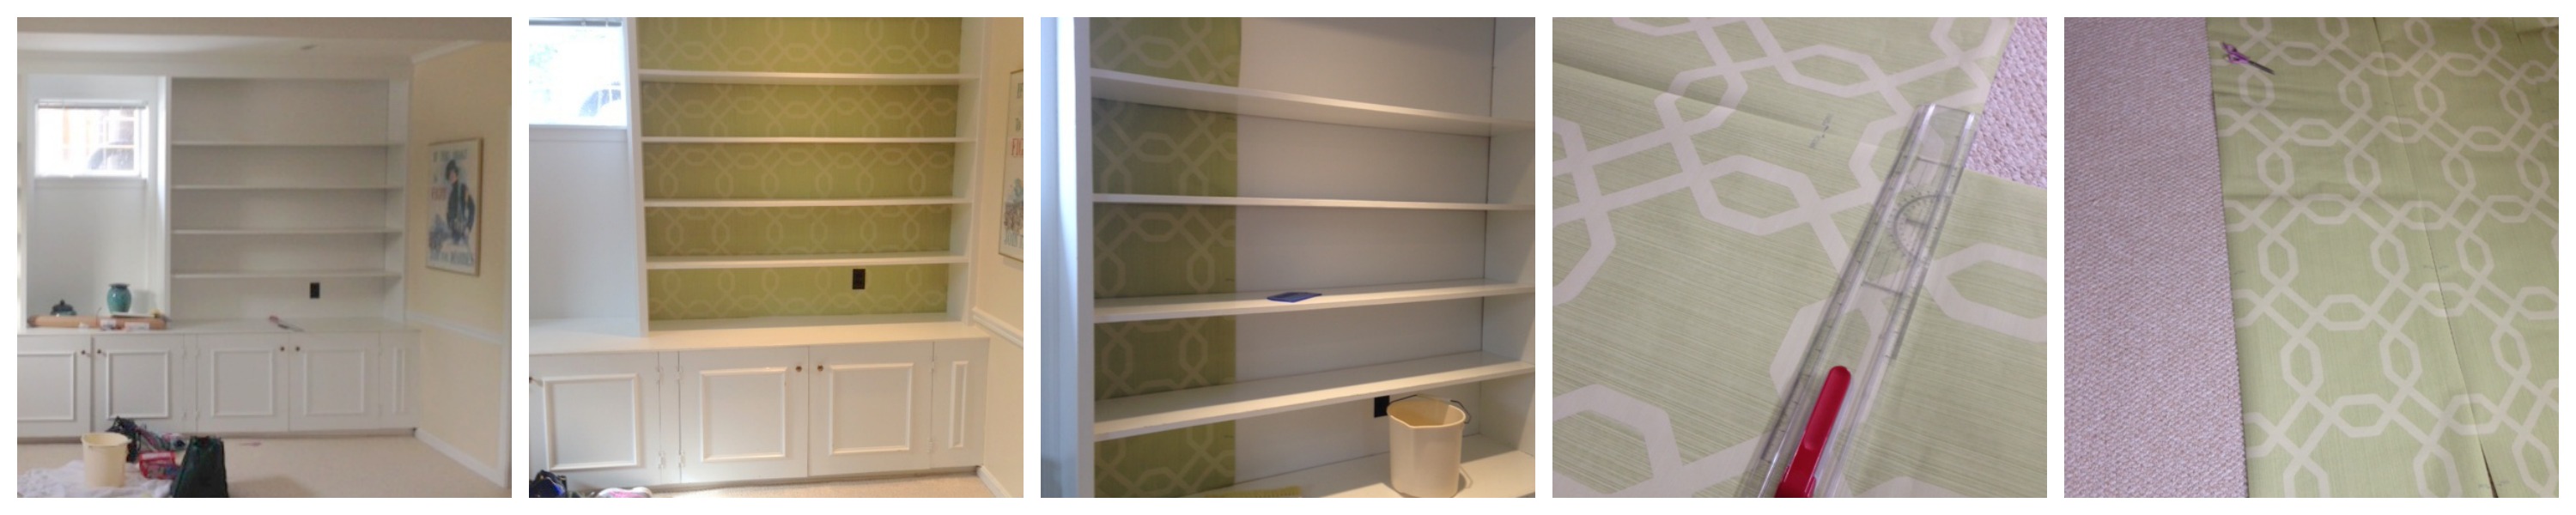
Here is a BEFORE and AFTER shot of a bookshelf I papered for a client in Potomac this week. I usually recommend calling a pro for large projects, but this was a fairly easy paper project, one I think people can handle themselves. I wanted to show you the steps involved to help you tackle your shelving: For starters, the paper I chose for this project was pre-pasted, which makes it SO much easier for DIY projects.
Measure the height of the shelf. Most of the time the shelves can be easily removed, which makes it easier for the application process. In this case, the shelves could not be removed but we had a sliver of space behind each shelf so I could slide the paper behind. In the event your shelves are nailed to the shelf you will need to measure the height for each shelf. This will take a little bit more time especially with a patterned paper.
Start rolling your paper to the floor. Using a yardstick, draw a line and cut the paper to the desired length. I always add an extra 1/2 inch to the measurement before I cut the paper. This allows me to have some wiggle room during the application process.
Roll the second sheet of paper and match the geometric design to the first roll. Roll to the length of the first roll of paper. Using the yardstick draw a line and cut the paper. Continue this process until you have the correct width for your shelving.
Submerge the paper in water for a minute. In this case I used the shower area to submerge the paper. You could also use a plastic storage bin filled with water to submerge your paper.
After you have pulled the paper from the water. Fold your paper in half where the pre-pasted sides are sticking together. Next, pull the paper apart and start applying the paper to the shelf.
Slide your paper on the wall. Secure the paper from the top of shelf to the bottom. You will need to use a wallpaper brush to get the air pockets out of the paper. You will be stroking the brush from the top to the bottom. When you get to the end of the paper you will need to get a straight edge razor blade and cut any excess off the paper so the ends will match.
Here are a few pictures I took while doing this project that might help you. Good luck to you, and e-mail me if you have any questions. –Shannon
Tools for this project:
Yard stick, wallpaper brush, pencil, a few books, scissors, straight edge razor blade, plastic bend for water and WALLPAPER!


It looks beautiful!